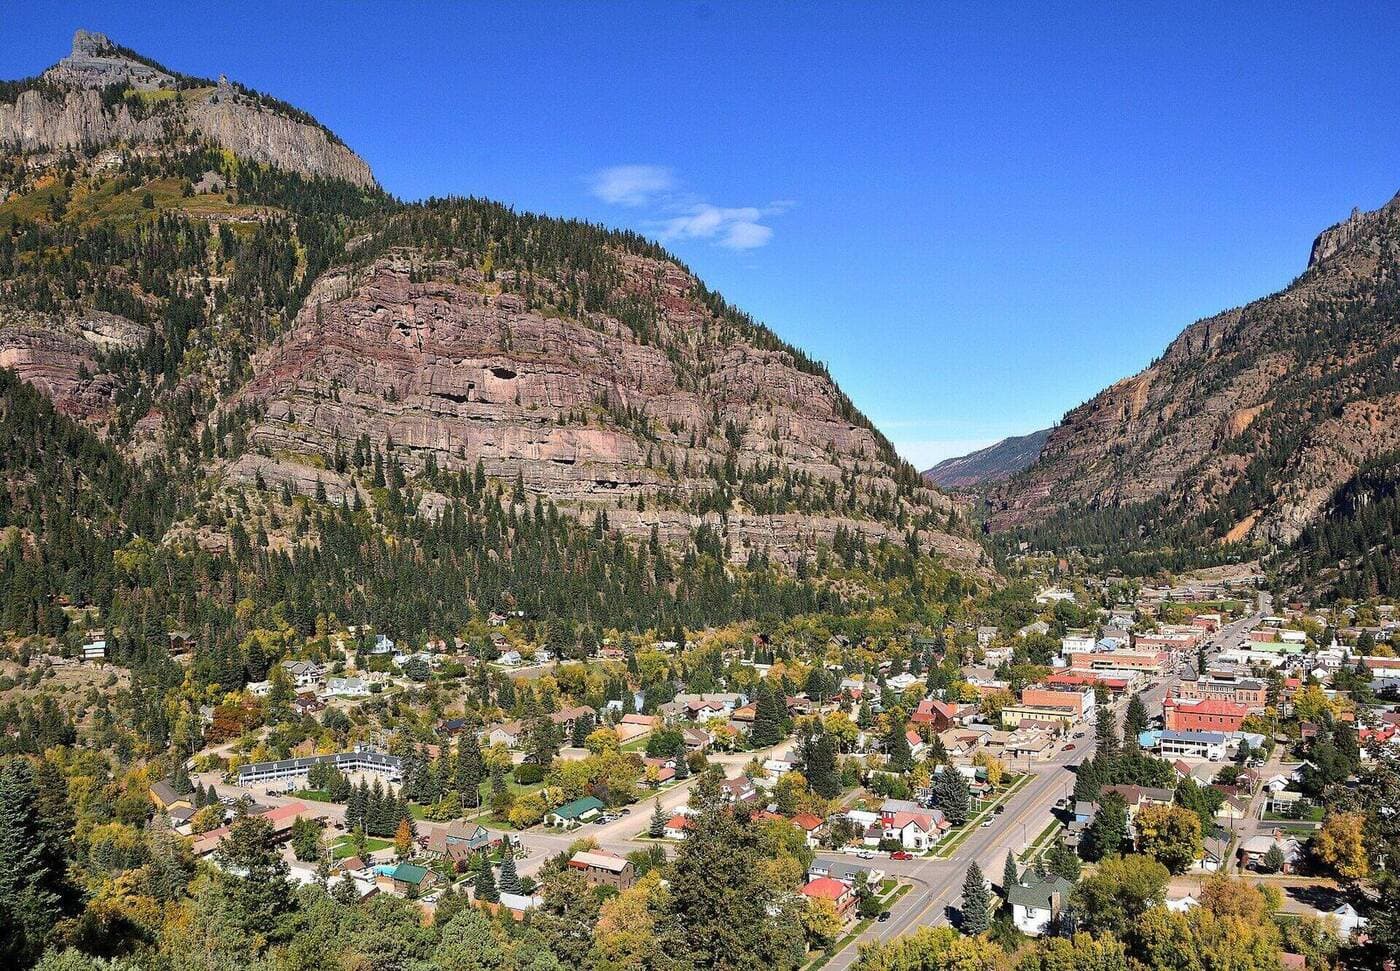
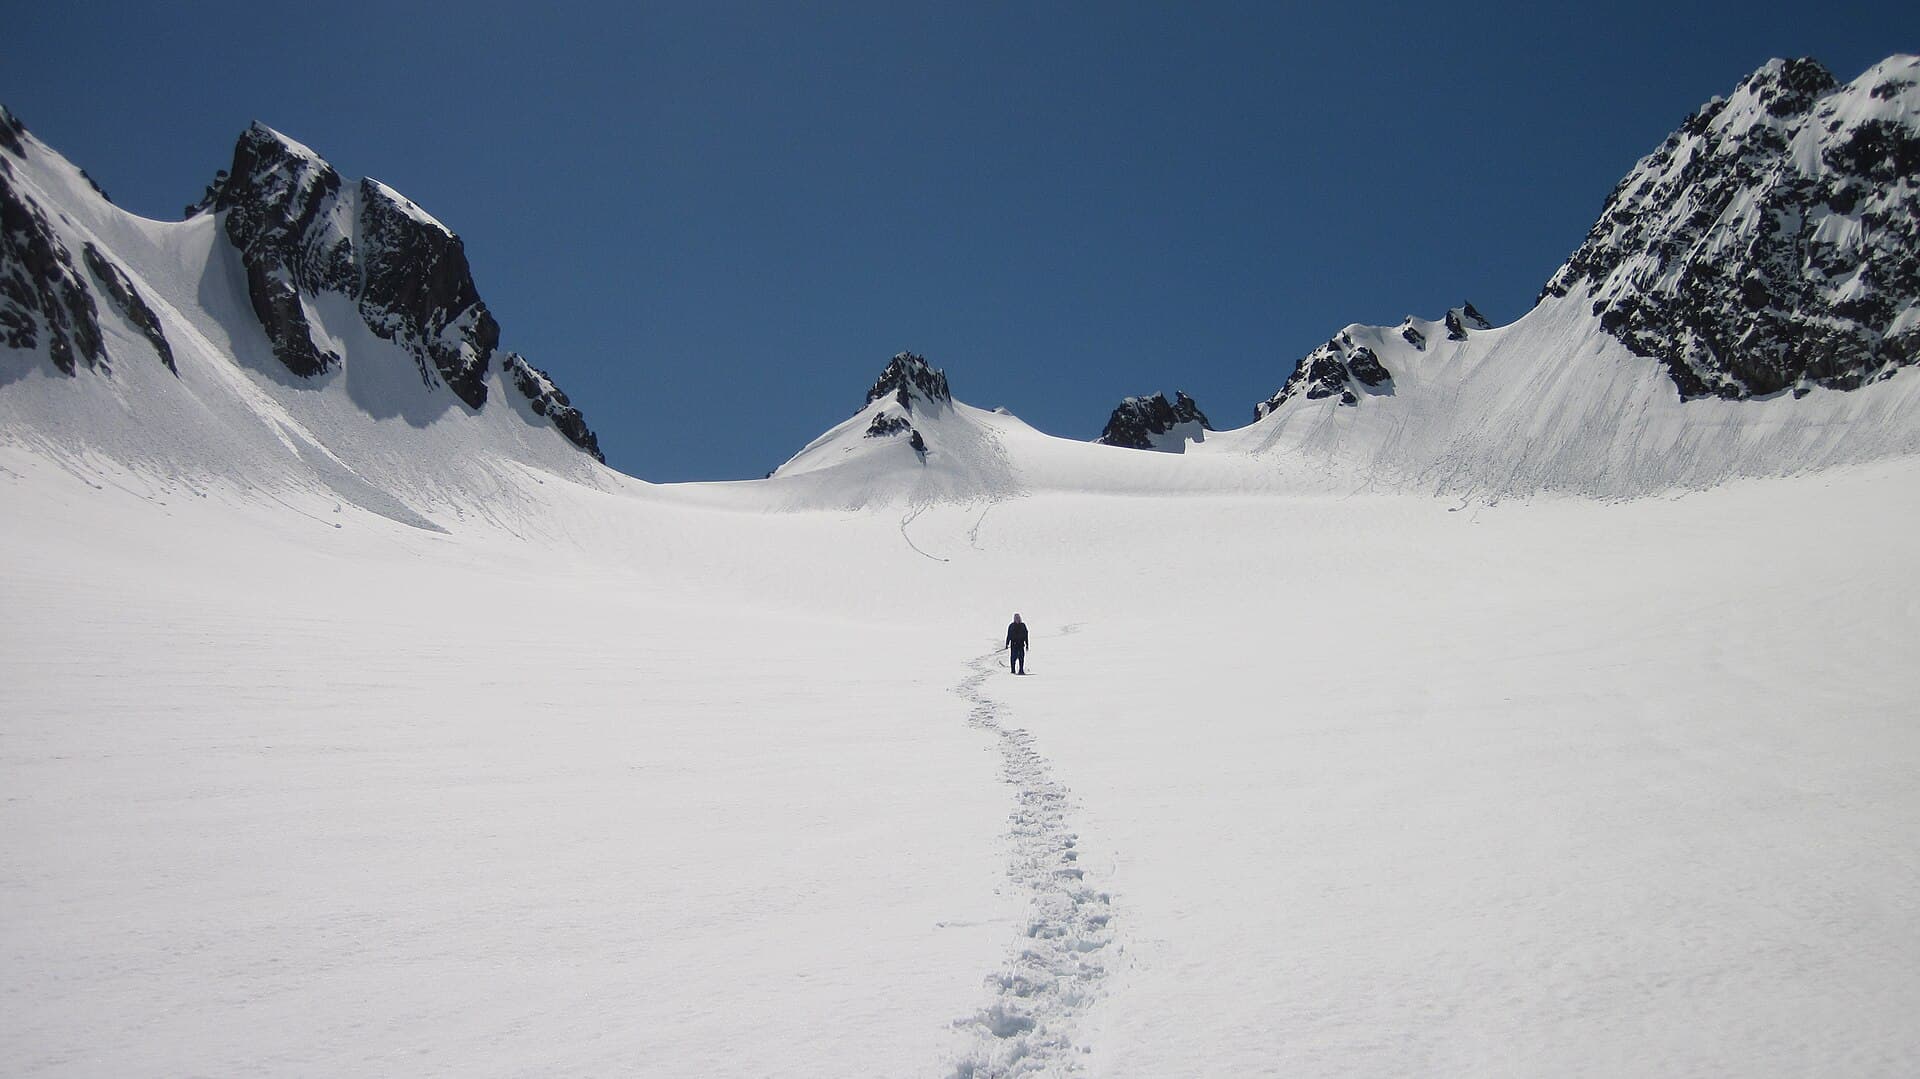
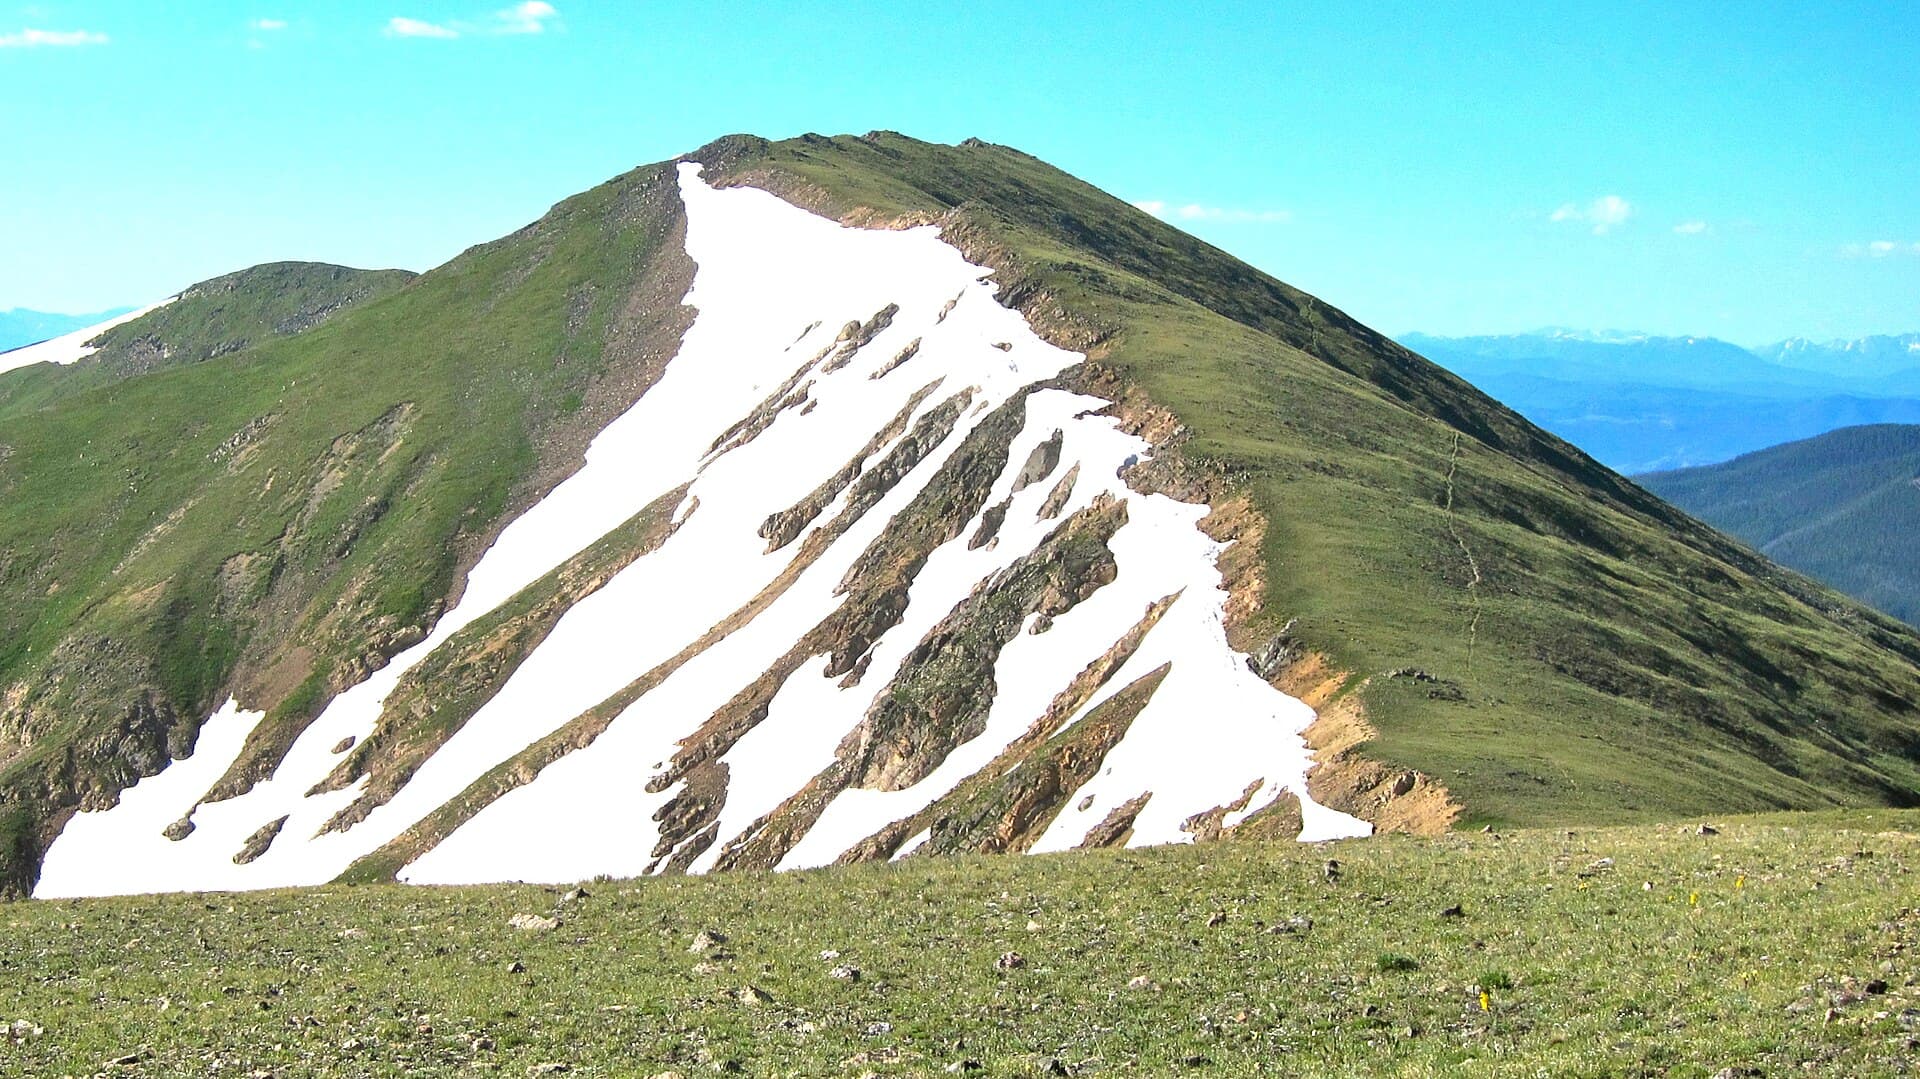
Winter Hiking in Colorado: A Beginner's Guide
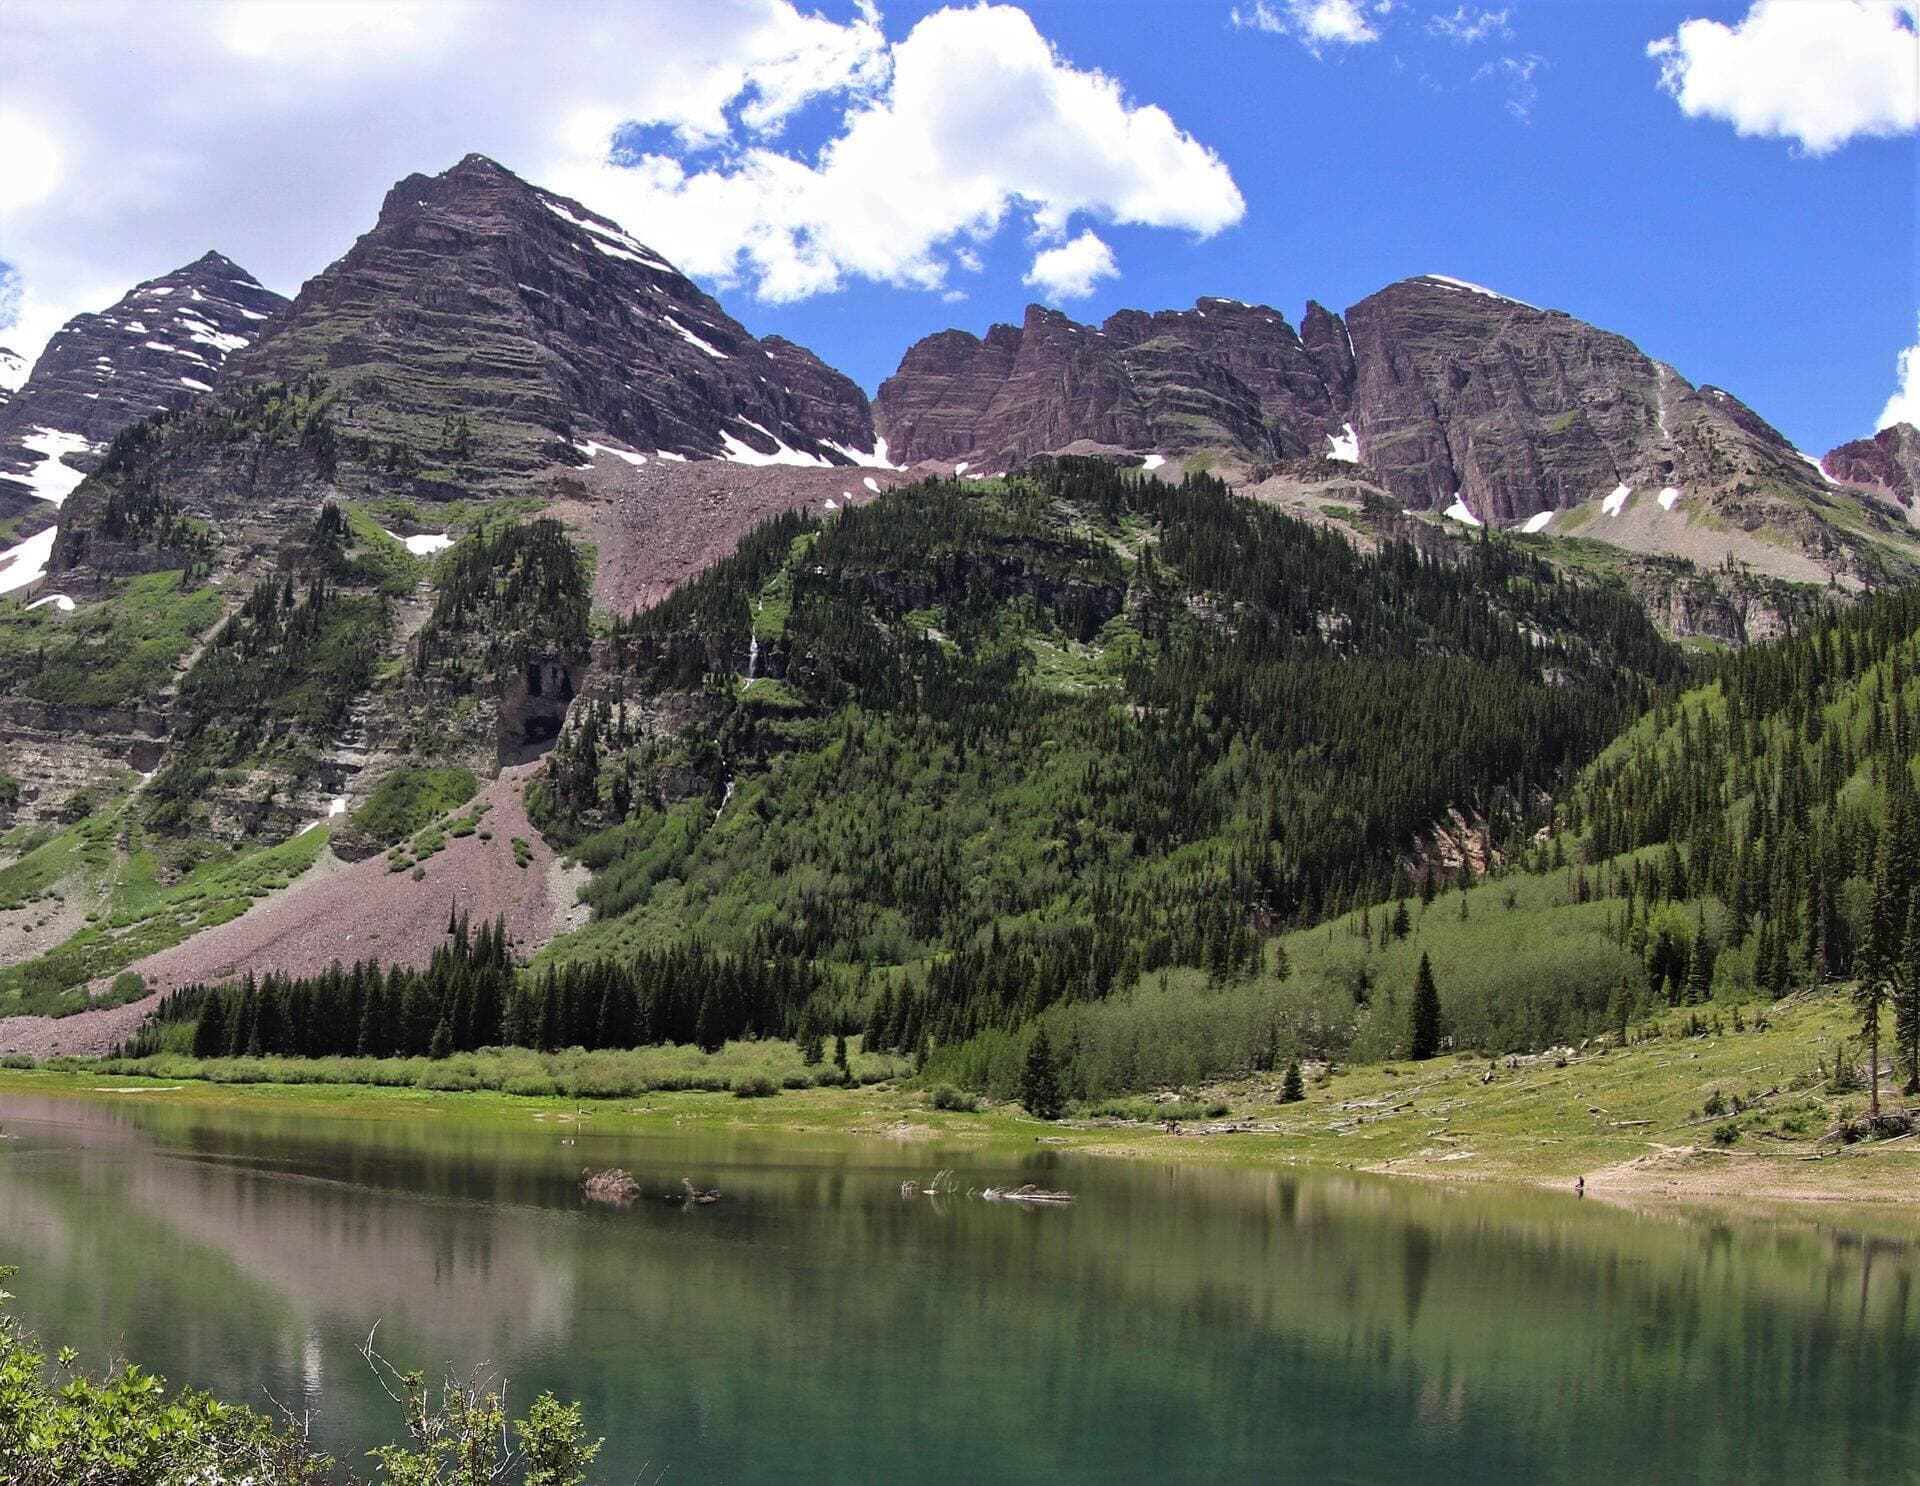
Colorado has 300+ sunny days a year, which means winter hiking here is dramatically more accessible than in most cold-weather states. The Front Range gets routine 50-degree days in February. The Pikes Peak corridor stays largely snow-free at lower elevations through most of winter. Even when high country trails are buried, you can find dry Colorado hiking 90 minutes from any major city.
The catch is that Colorado winter weather can flip from 60-degree sunshine to a sub-zero ground blizzard in a few hours. The gear and decisions that work in summer don't translate. This guide covers what you actually need to start winter hiking here safely, plus which trails to start on.
Quick pick — Colorado winter hiking essentials
| Product | Best for | Price | Weight | Spec | |
|---|---|---|---|---|---|
Kahtoola MICROspikes Our pick | Traction (most important winter gear) | $80 | 11 oz | 12 stainless steel spikes | Check price → |
Hot Hands Hand Warmers (40-pack) | Backup heat for fingers and toes | $22 | 1 oz each | 8-10 hours of warmth | Check price → |
Black Diamond Storm 500-R | Short winter days + early starts | $75 | 4.6 oz | 500 lumens, USB-C rechargeable | Check price → |
Hydro Flask 32oz | Water that doesn't freeze | $45 | 15.5 oz | Double-wall insulation | Check price → |
Prices and availability change. As an Amazon Associate, we earn from qualifying purchases.
What You'll Learn
- Why Colorado is good for winter hiking
- Best Beginner Winter Trails
- Required Gear
- Clothing System
- Weather Decisions
- Avoiding Avalanche Terrain
- Day-Of Decision Rules
Why Colorado is good for winter hiking
Three factors make Colorado winter hiking different from typical cold-weather hiking:
Dry climate. Colorado snow is light and dry compared to coastal snow. You can walk through 6 inches of fresh snow without feeling soaked, and gear stays dry longer. Wet snow (Pacific Northwest, New England) is heavy, sticky, and saturates everything; Colorado snow is light, fluffy, and brushes off.
Sunny days. With 300+ sunny days a year, most winter Colorado hikes happen in real sunshine. Air temperature might be 20°F but you're warm in the sun on a sheltered south-facing trail. Temperatures rise fast through the day, often 30-40°F between dawn and midafternoon.
Year-round trail access. Many Front Range and southern Colorado trails stay accessible all winter. North Cheyenne Canyon, Mount Sanitas, Mount Galbraith, Roxborough State Park, Garden of the Gods, the Manitou Incline, all are reliably hikeable December through February.
This means winter hiking in Colorado is genuinely friendlier than in most cold-weather states. You don't need expedition gear; you need correct intermediate gear.
Best Beginner Winter Trails
Start with these. All have parking access in winter, packed trail conditions (other hikers have broken trail), and modest commitment if conditions deteriorate.
Front Range / Boulder:
- Mount Sanitas Trail (Boulder). 3.1 mi loop. Locals hike year-round.
- Royal Arch (Boulder/Chautauqua). 3.4 mi RT. Famous sandstone arch.
- Mount Galbraith Loop (Golden). 4.4 mi loop. Reliably packed.
- Lookout Mountain Loop (Golden). Short, accessible, kid-friendly.
- Manitou Incline. For the fit, brutally steep year-round.
- Garden of the Gods Central Garden Trail. Paved, accessible.
- Mount Cutler Trail (North Cheyenne Canyon). 1.5 mi RT.
- Lovell Gulch Trail (Woodland Park). Slightly higher elevation, snowier.
Denver foothills:
- North Table Mountain Loop (Golden). 6.4 mi mesa loop.
- Mount Falcon Park (Morrison). Multiple trail options.
- Bear Creek Loop (JeffCo). Quiet alternative.
Northern Colorado:
- Horsetooth Mountain Loop (Fort Collins). 5.2 mi loop.
- Coyote Ridge Trail (Fort Collins). Easy with Mummy Range views.
- Devils Backbone (Loveland). Sandstone hiking, year-round.
Avoid for your first winter hikes: anything above treeline, any RMNP trail above Bear Lake, any 14er, and anything where the trailhead isn't plowed.
Required Gear
These are the non-negotiables.
Traction. Kahtoola MICROspikes ($80, 11 oz) are the universal Colorado winter traction. Put them in your pack at the trailhead, put them on the first time you slip. See our microspikes guide for the full picks.
Headlamp. Winter daylight ends by 5 PM. Even if you plan a short hike, carry a headlamp with fresh batteries. The Petzl Actik Core or Black Diamond Spot 400 are the standard picks.
Insulated water bottle. A standard plastic Nalgene freezes solid by mile 2 in a 25°F morning. A Hydro Flask 32oz ($45) stays liquid for 8+ hours.
Hand warmers. Disposable HotHands ($22 for 40-pack) tucked in glove cuffs and boot toes. Cheap insurance against frozen fingers and toes.
Map and phone with offline maps. Cell service is spotty in winter even on popular trails. Download offline maps via Gaia GPS, AllTrails Pro, or onX Backcountry.
Clothing System
Layering is the rule. You'll warm up faster than you expect; you'll cool down faster if you stop. The system:
Base layer. Merino wool (Smartwool, Icebreaker) or synthetic (Patagonia Capilene). Never cotton. Cotton kills.
Insulation. Midweight fleece (Patagonia R1) or a down puffy (Patagonia Down Sweater). The puffy goes on at stops and off during exertion. The fleece can stay on for both.
Shell. A real waterproof rain jacket doubles as your wind shell. Pit zips matter for venting on climbs.
Bottom. Synthetic or merino hiking pants. Long underwear if it's below 25°F.
Head and hands. Beanie or buff for warmth, ball cap or visor for sun glare on snow. Two pairs of gloves: liner gloves for hiking, insulated mitts for stops.
Feet. Waterproof hiking boots. Wool socks. Gaiters if there's deep snow.
The key adjustment from summer: bring more insulation than you think you need. Start the hike slightly underdressed (you'll warm up). Carry extras for stops. The down jacket lives in the top of your pack, accessible without unloading.
Weather Decisions
Three weather conditions cancel winter hikes:
Air temperature below 0°F. Frostbite risk on exposed skin is real. Wait for warmer days.
Wind speed above 20 mph. Wind chill becomes the limiting factor. A 20°F day with 30 mph wind feels like -5°F.
Active snow falling heavily. Trail-finding becomes harder, traction conditions change, and rescue becomes harder if you need it.
NOAA's mountain forecast (forecast.weather.gov) is the authoritative source. Check it the morning of your hike, not the night before. Mountain weather changes overnight.
For specific trail conditions, 14ers.com has trip reports for 14ers, and AllTrails reviews from the last few days give real intelligence on whether trails are packed or breaking trail.
Avoiding Avalanche Terrain
This is the #1 winter hiking safety rule: avoid avalanche terrain.
Avalanche terrain in Colorado is generally:
- Slopes steeper than 30 degrees with snow
- Bowls, gullies, and chutes
- Areas with cornice formation above
- Recent slide debris (look for downed trees in a line)
Most beginner Colorado winter trails are not in avalanche terrain. The ones listed above are forested or low-elevation enough to be safe. But once you start exploring above treeline (RMNP, Indian Peaks, the I-70 corridor), avalanche risk becomes real.
The Colorado Avalanche Information Center (avalanche.state.co.us) publishes daily avalanche forecasts for the entire state. Check it before any backcountry winter hike above treeline.
For serious backcountry winter hiking, take an AIARE Level 1 avalanche course. It's a 24-hour, 3-day course that teaches you to recognize avalanche terrain and make terrain-based decisions. Without it, stick to non-avalanche-terrain trails.
Day-Of Decision Rules
Before leaving the trailhead:
- Tell someone your plan (trail, expected return time, plate number)
- Check temperature, wind, weather forecast one more time
- Confirm headlamp has batteries
- Eat breakfast (cold weather burns more calories)
- Drink water before starting (cold dehydrates faster than you think)
On the trail:
- Layer down as you warm up (don't sweat through your base layer)
- Watch the time. Turn around at a fixed time, not a fixed point
- Keep snacks accessible without taking off your pack
- Notice cold fingers/toes immediately. Add hand warmers before frostnip starts
End of hike:
- Get to warmer indoor space if you're shivering
- Replace fluids and food immediately
- Check feet for blisters and frostnip
Colorado winter hiking gets dramatically easier after your first few trips. You learn what gear you actually need, what your personal cold tolerance is, and how to read the terrain. Start with the easy reliable trails listed above and work up from there.
For the gear you need to start, see our microspikes guide, snowshoes guide, and headlamp guide.
Get the Colorado 14er Packing Checklist (free PDF)
Plus a weekly note on the best Colorado trails, gear deals, and seasonal hike picks. No spam, unsubscribe anytime.
We respect your inbox. Unsubscribe anytime.