How to Pack a Backpacking Backpack for a Colorado Trip
To pack a backpacking backpack, load it in three zones: your sleeping bag and sleep clothes at the bottom, your heaviest items (food, bear canister, stove, water) in the core against your spine, and lighter layers plus anything you need fast (rain shell, snacks, map) up top and in the lid. Keep the heavy weight centered and close to your back so the load rides over your hips instead of pulling you backward. That single idea, weight low-to-mid and tight to the spine, is what makes a 35-pound pack feel like 25 on a Colorado pass.
This guide walks through each zone, shows you exactly where the bear canister goes (required in a lot of Colorado's backcountry), and covers the local stuff that trips people up: afternoon monsoon rain, cold alpine nights, and the long climbs that punish a badly balanced load. Whether you're prepping for a first overnight near Denver or the Four Pass Loop, the method is the same.
What You'll Learn
- The Quick Version
- The 3-Zone Method
- Where the Bear Canister Goes
- What Straps to the Outside
- Weight Distribution and Balance
- Waterproofing for Monsoon Season
- Compression and Dialing the Fit
- A Sample 3-Day Colorado Load
- Common Packing Mistakes
- Gear That Makes Packing Easier
- FAQs
The Quick Version
Pack from the bottom up, heavy stuff centered against your spine, soft stuff filling the gaps. Sleeping bag and sleep layers go in first, at the very bottom. The dense items you won't touch until camp (food, bear canister, stove, fuel, water reservoir) ride in the middle, pressed as close to your back as they'll go. Clothing layers and your shelter fill the space around them. On top go the things you grab during the day: rain jacket, first aid, snacks, hat, gloves. The lid and hipbelt pockets hold your phone, map, sunscreen, and lip balm.
Cinch the compression straps until nothing shifts when you shake the pack. A load that rattles is a load that's going to throw you off balance on talus. That's the whole system. The rest is detail and the reasons behind each choice.
The 3-Zone Method
Think of the main compartment as three stacked zones. Getting the density right in each one is what keeps the pack from tipping you around.
Bottom zone (the base). This is for bulky, light gear you won't need until you stop for the night. Your sleeping bag goes here first, either loose (which fills the corners better) or in a lightweight compression sack if you're tight on space. Add your sleep clothes, a down jacket you're not wearing yet, and camp socks. Keeping this zone soft and low creates a stable platform for the heavy stuff on top of it. For picking the bag itself, see the best sleeping bags for backpacking in Colorado, since a 20 degree bag is bulkier to pack than a 40 degree one and changes how much room you have down here.
Core zone (the heavy middle). This is the most important part and where most people go wrong. Your densest gear lives here, and it must sit against the panel closest to your spine, roughly between your shoulder blades and the top of your hip bones. That's food (the single heaviest thing most trips), your bear canister, stove and fuel canisters, cook pot, and a full water reservoir. Put the heaviest single item, usually your food bag or canister, right against your back at about shoulder-blade height. If the weight drifts away from your spine or sinks too low, the pack levers your shoulders backward and you'll fight it all day.
Top zone (the daytime layer). Everything you might want without dropping the pack goes up here: rain shell, insulated layer for a windy pass, first aid kit, water filter, snacks, and a warm hat. This zone should be lighter than the core so it doesn't raise your center of gravity too high. A pack that's heavy up top feels tippy the second you're scrambling over rock.
Then the pockets and lid. The lid (top pocket) holds small things you want fast: map, headlamp, sunscreen, snacks, keys. Hipbelt pockets are for the grab-on-the-move items: phone, lip balm, a bar, sunglasses. Side water bottle pockets should hold your bottles and maybe a tent pole or your filter. Front stretch pockets (the big mesh one on the back panel) are perfect for a wet rain fly, damp socks, or a jacket you keep shedding and re-adding as clouds move through.
Where the Bear Canister Goes
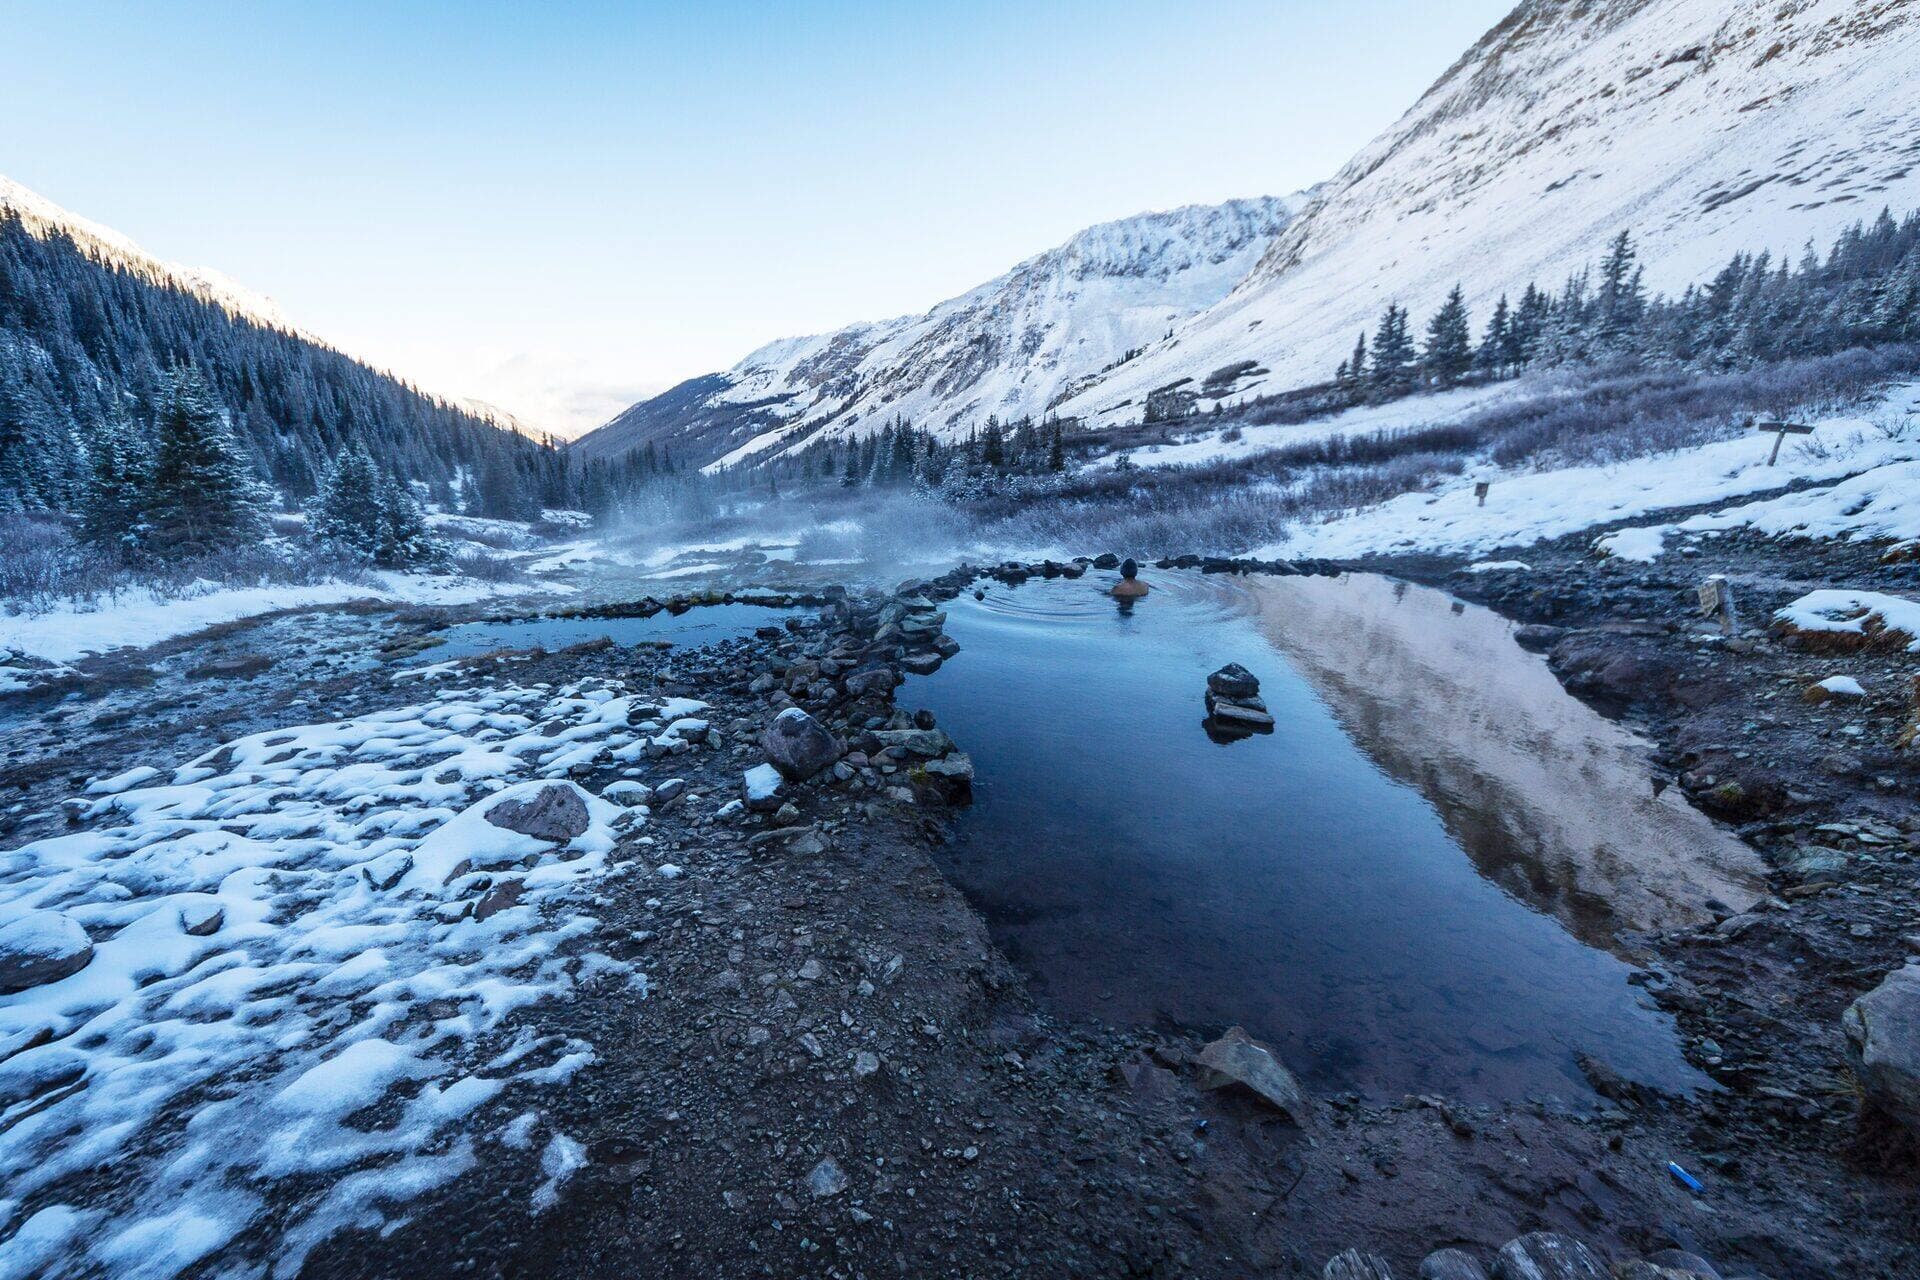
Colorado requires an approved hard-sided bear canister in a growing list of places, including much of Rocky Mountain National Park's backcountry, the Indian Peaks Wilderness, and the Maroon Bells-Snowmass Wilderness (Conundrum Hot Springs and the Four Pass Loop). If you're headed anywhere on that list, the canister isn't optional, and it's a bulky, heavy cylinder you have to plan around.
Pack the canister in the core zone, on its side, against your back. Loading it horizontally keeps the weight low and close to your spine instead of stacking it high. Fill the canister completely first (food, trash, toiletries, anything scented), then wedge soft gear like clothing around it so it can't rotate or slide. An empty gap next to a full canister is what makes a pack feel like it's rolling on your back.
A BearVault BV500 holds roughly seven days of food for one person and fits sideways in most 60-liter and larger packs. For a two-night trip you can often get away with a smaller BV450. For the full rundown on sizing and models, read the best bear canisters for Colorado. Whatever you carry, load it inside the pack, never lashed to the outside where it raises your center of gravity and bakes in the sun.
What Straps to the Outside
The outside of the pack is for a short, deliberate list, not a yard sale. Every item you dangle off the back or sides swings, snags on brush, and pulls your balance around on uneven ground. Keep it to these:
- Tent poles and stakes in a side pocket, tucked under the compression strap so they run vertically. The tent body and fly can go inside or in the front stretch pocket. See the best backpacking tents for Colorado for models that pack down small.
- Closed-cell foam sleeping pad, if you use one, strapped horizontally under the lid or vertically against the back panel. Inflatable pads pack inside. Compare both types in the best backpacking sleeping pads for Colorado.
- Trekking poles, when you're scrambling and want hands free, slide into the side compression straps.
- A wet rain fly or damp layer in the front stretch pocket, so moisture stays out of your dry gear.
That's the list. Cooksets, stoves, and fuel belong inside, near your food. Water bottles go in the side pockets you can reach. Anything heavier than a jacket should live in the main compartment where you control where its weight sits.
Weight Distribution and Balance
Colorado backpacking is a lot of vertical. You'll gain 3,000 feet to a pass, drop into the next drainage, and do it again, often above 11,000 feet where the air is thin and every ounce feels like two. Balance is what saves your legs and your lower back on that terrain.
The rule: heavy weight centered, close to your spine, and roughly level with the top of your hips to your shoulder blades. Low and centered lowers your center of gravity so you're not swaying on scree. Close to the spine keeps the load's weight line running straight down through your hips, which is where your pack's suspension is designed to carry it. A backpacking pack should put about 80 percent of the load on your hip belt and 20 percent on your shoulders. If your shoulders are screaming, the weight is either too far from your back or too high, and no amount of strap tightening fixes bad packing.
Side to side matters too. Split heavy items so one side of the pack doesn't outweigh the other, or you'll lean and tire one leg faster. If you carry two fuel canisters or two water bottles, put one on each side. For more on choosing a pack whose suspension actually carries the load, see the best backpacking backpacks for Colorado.
Waterproofing for Monsoon Season
From about July 10 through mid-September, Colorado's afternoon monsoon builds storms that soak you fast, often right when you're crossing an exposed pass. A wet sleeping bag at 11,000 feet is a genuine safety problem, not just an annoyance, because a soaked down bag stops insulating and alpine nights drop into the 30s.
Backpacks are not waterproof, and most rain covers leak at the seams and blow around in wind. The move most experienced Colorado backpackers make is a pack liner: a heavy-duty trash compactor bag or a dedicated waterproof liner that goes inside the pack, holding everything that must stay dry. Line the pack, load your gear inside the liner, then roll the top shut like a dry bag. A pack rain cover on top of that keeps the pack fabric from getting waterlogged and heavy, but the liner is what saves your bag.
Double-bag the critical items. Your sleeping bag, down jacket, and spare base layers each go in their own dry bag or stuff sack even inside the liner. Electronics and your first aid kit go in a zip bag. If you're new to reading Colorado's afternoon sky, the beginner's guide to Colorado hiking covers timing your climbs to beat the storms.
Compression and Dialing the Fit
Once everything's loaded, you tighten the pack down so the load becomes part of your body instead of a sack that shifts. Do it in order.
- Loosen everything before you put the pack on, including shoulder straps and load lifters.
- Set the hip belt first. With the pack on, center the padded part of the belt over your hip bones (not your waist) and cinch it firm. This is what carries the weight.
- Snug the shoulder straps just until they contact your shoulders. They stabilize; they don't carry.
- Pull the load lifters, the small straps running from the top of the shoulder straps to the pack body, to about a 45 degree angle. They pull the top of the pack in toward your back so it doesn't sag away from you.
- Fasten the sternum strap across your chest to keep the shoulder straps from sliding off.
- Cinch the side compression straps until the load feels solid. Shake the pack. If you hear or feel things moving, something's loose, and loose weight becomes swinging weight on the trail.
A well-cinched pack feels like it's hugging your back. You should be able to reach back and feel that the top of the pack is close to your shoulders, not tipping away.
A Sample 3-Day Colorado Load
Here's how a real weekend load stacks up for a two-night trip in the Sangre de Cristos or San Juans, roughly 32 to 36 pounds with food and water.
Bottom: 20 degree sleeping bag, camp socks, sleep base layer, down jacket (if not worn).
Core, against the back: Bear canister loaded with three days of food and all scented items, laid on its side. A stove and one fuel canister tucked beside it. Cook pot nested with the fuel inside. Water reservoir or two full bottles split left and right.
Around the core: Insulated jacket, spare hiking clothes, and the tent body stuffed into gaps so the canister can't rotate.
Top: Rain shell, warm hat and gloves, first aid kit, water filter, day's snacks, sunscreen.
Lid: Map, headlamp, sunscreen, sunglasses case, permit.
Hip belt pockets: Phone, lip balm, a bar, small camera.
Outside: Tent poles and stakes in a side pocket, closed-cell pad under the lid, trekking poles on the compression straps when scrambling.
For food that packs dense and light, the best dehydrated backpacking meals for Colorado will save you weight and bulk in that core zone. And since altitude affects appetite and judgment, skim altitude sickness prevention before a high trip.
Common Packing Mistakes
- Heavy items at the bottom. Rocks the pack backward and drops your center of gravity too low, which feels sluggish on climbs.
- The sleeping bag on top. It's light and bulky; it belongs at the bottom as a base, not raising your load height.
- Gear lashed all over the outside. Every dangling item swings and snags. Keep the outside list short.
- Empty gaps around the bear canister. A canister that can rotate turns the whole pack into a rolling weight. Wedge soft gear tight around it.
- No pack liner. A rain cover alone won't keep an afternoon monsoon out of your sleeping bag. Line the inside.
- Over-stuffing the lid. A top-heavy pack tips you on talus and scrambles. Keep the heavy weight in the core.
- Skipping the shakedown. Load the pack the night before, put it on, and adjust. The trailhead is a bad place to discover your hip belt won't cinch.
Gear That Makes Packing Easier
You don't need much beyond the pack, but a few cheap items make the whole process faster and cleaner.
- Compression sacks shrink a bulky sleeping bag or puffy so the core zone has more room for dense gear.
- Dry bags and stuff sacks keep your sleep system and clothes dry and let you pull one bag out without unpacking everything.
- Packing cubes sort clothing by type so you're not digging through the whole pack for one glove.
- A pack liner is the cheapest waterproofing insurance you can buy, usually under five dollars for a compactor bag that lasts a whole season.
Color-code the stuff sacks (bright for the sleep gear you want at the bottom, dark for daytime layers) and packing gets muscle-memory fast.
FAQs
How do you pack a backpacking backpack?
Load it in three zones. Sleeping bag and sleep clothes at the bottom, the heaviest gear (food, bear canister, stove, water) in the core against your spine, and lighter layers plus quick-access items up top and in the lid. Keep heavy weight centered and close to your back, then cinch the compression straps so nothing shifts.
Should heavy items go at the top or bottom of a backpack?
Neither. Heavy items go in the middle (the core zone), pressed against the panel closest to your back, roughly between your shoulder blades and the top of your hips. Too low rocks you backward and feels sluggish; too high makes the pack tippy on rough ground. Centered and close to the spine keeps the load stable.
Where do you put a bear canister in a backpack?
In the core zone, on its side, against your back, filled completely first. Wedge soft gear like clothing around it so it can't rotate. Never strap it to the outside, since that raises your center of gravity and leaves your food baking in the sun. In much of Colorado's backcountry, including Rocky Mountain National Park and the Indian Peaks and Maroon Bells-Snowmass Wilderness areas, an approved canister is required.
How do you waterproof a backpacking pack in the rain?
Use a pack liner, a heavy trash compactor bag or a dedicated waterproof liner inside the main compartment, and load your gear inside it. A rain cover on the outside keeps the pack fabric from soaking through, but the liner is what actually keeps your sleeping bag dry. Double-bag the sleeping bag and spare layers in their own stuff sacks for Colorado's fast afternoon storms.
How much should a backpacking pack weigh?
A loaded weekend pack usually runs 30 to 40 pounds with food and water; multi-day trips push higher. A common target is keeping your base weight (everything except food, water, and fuel) under about 20 pounds. However it's loaded, your hip belt should carry roughly 80 percent of the weight and your shoulders about 20 percent.
Closing Thought
Packing a backpack well is three habits: heavy weight in the core against your spine, soft gear filling the gaps so nothing shifts, and a liner inside so an afternoon storm never reaches your sleeping bag. Do that and a full pack rides quiet and balanced over Colorado's passes instead of dragging on your shoulders.
Before your next trip, dial in the rest of your kit with the best backpacking backpacks for Colorado, the best backpacking tents for Colorado, and the beginner's guide to Colorado hiking.
Get the Colorado 14er Packing Checklist (free PDF)
Plus a weekly note on the best Colorado trails, gear deals, and seasonal hike picks. No spam, unsubscribe anytime.
We respect your inbox. Unsubscribe anytime.