Manitou Incline: 2026 Complete Guide (Reservations, Parking, Tips)
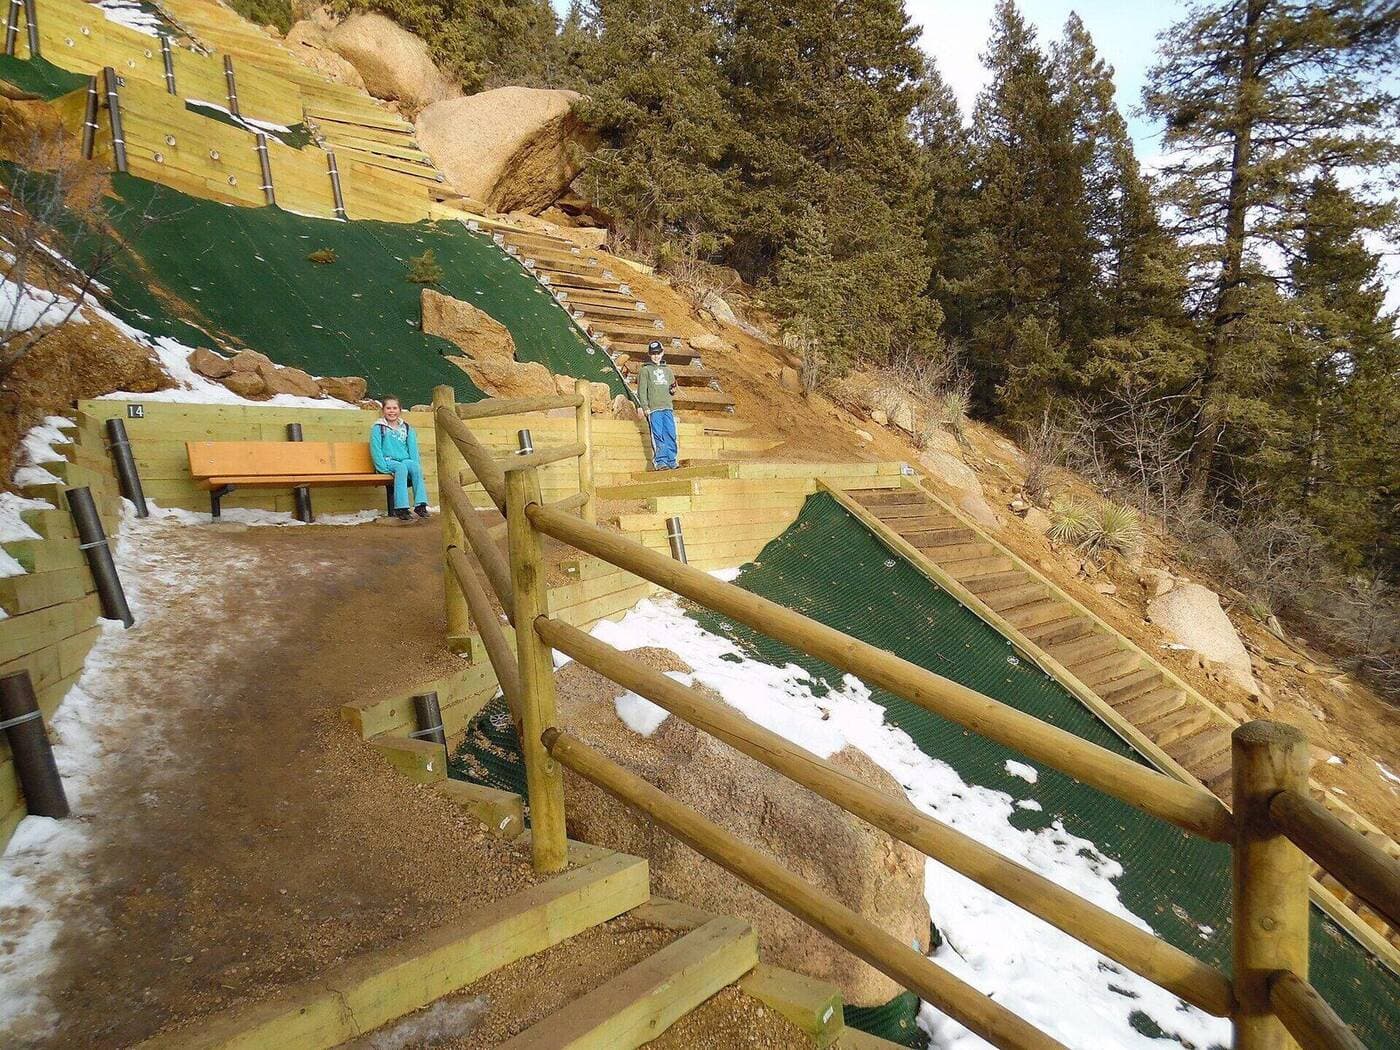
The Manitou Incline is a mile of old railroad ties going straight up the side of a mountain. 2,768 steps. 2,000 feet of vertical in less than nine-tenths of a mile. People fly to Colorado Springs to climb it. Olympians train on it. Tourists try it once and remember the burning in their quads for a week.
This guide walks through reservations, parking, the climb itself, the descent down Barr Trail, and the mistakes that get people in trouble.
What You'll Learn
- How the free reservation system works and when to book
- Where to park and how the Hiawatha Gardens shuttle works
- What the climb feels like by section, including the false summit at step 1,800
- Why you have to descend on Barr Trail and what that 3.6 miles looks like
- How to train for it and what to bring
Quick Stats
| Stat | Detail |
|---|---|
| Steps | 2,768 wooden railroad ties |
| Distance up | 0.88 mile one-way |
| Elevation gain | ~2,000 feet |
| Average grade | 41 percent |
| Max grade | 68 percent (near the top) |
| Base elevation | ~6,500 ft (Manitou Springs) |
| Top elevation | ~8,590 ft |
| Round trip with Barr Trail descent | ~4.5 miles |
| Typical time | 4 to 5 hours total (30 to 45 min for fit hikers on the ascent) |
| Difficulty | Hard. Genuinely hard. |
| Reservation | Required, free, time-slotted |
Reservations: How the System Works
Since July 2020, the Incline has required a free timed reservation. The city moved to this system to control crowding on a trail that was seeing thousands of people on summer weekends.
Book directly with the city at coloradosprings.gov/manitouincline. Reservations open about a month out. In summer, peak slots (6 to 9 AM) fill within hours of release. Off-peak slots (after 10 AM on weekdays) tend to stay open longer, but they also mean climbing in direct sun.
A few things worth knowing about the system:
- Reservations are in roughly two-hour windows. You start within that window. You do not have to finish in it.
- Rangers check at the trailhead. Have your reservation ready.
- No-shows can get flagged and limit future bookings. Cancel if your plans change.
- Reservations are required 6 AM to 6 PM in the warmer months. Hours shift seasonally.
- The trail closes briefly each year for maintenance, typically in late winter.
If you are flying in for the weekend, book the reservation before the flight. Showing up without one is how out-of-towners waste a morning.
Parking and Getting There
The official parking is Hiawatha Gardens at 10 Old Man's Trail in Manitou Springs. It is $20 for the day, and that fee includes the free shuttle that runs to and from the trailhead. The shuttle drops you about a five-minute walk from the base of the steps.
A few alternatives:
- Ruxton Avenue street parking. Limited and metered. Not realistic on a summer weekend.
- Ride share. Uber and Lyft both run in Manitou Springs and will drop you near the trailhead. Cleanest option if you are staying in Colorado Springs proper.
- Walk from downtown Manitou. About a mile up Ruxton Avenue. Counts as a warm-up.
Build in time. Missing your reservation window because you were waiting on a shuttle is its own kind of frustrating.
The Climb, Third by Third
The Incline rewards a steady, patient approach. People who sprint the first stretch tend to be the people sitting on a step at the halfway mark with their head between their knees.
First Third: The Warm-Up Lie
The bottom third feels manageable. The grade is closer to 30 percent, the steps are evenly spaced, and there is shade from surrounding trees. You will pass people, you will feel strong, and you will think the reputation is overblown.
This is the trap. The first third is the easiest section by a wide margin. Settle into a rhythm here. Breathe through your nose if you can. Save your legs.
Middle Third: The Steepening and the False Summit
The grade picks up. The steps get taller and more uneven. Some are double or triple height, which forces a big knee lift on every move. Heart rate climbs. Conversation stops.
Around step 1,800 you hit what locals call the false summit. The grade levels briefly, and from below it looks like the top. It is not. There is a bailout connector here. If you are cooked, this is where you can drop down to Barr Trail and finish on the long, sane switchbacks. Plenty of people take it. There is no shame in it.
If you keep going, you will round the corner and see what is left. That is when most people understand what they signed up for.
Final Third: 68 Percent
The last stretch is the steepest section of any public hiking trail most people will ever stand on. The grade hits 68 percent. The steps are tall, the gaps between them are awkward, and there is nothing above you but more steps and sky.
This is the section where pace stops mattering. Take three or four steps. Rest. Take three or four more. Most fit hikers move in those short bursts up here. The top is the top. There is a small flat area with a wooden post, room to sit, and views east across Colorado Springs and the plains beyond. Eat something. Drink water. You earned it.
The Descent on Barr Trail
This is the part of the guide that matters most: do not descend the Incline. Park rules forbid it, and rangers will ticket you. The reason is not bureaucratic. The grade is so steep that downhill falls turn into long tumbles, and a tumble on railroad ties is a hospital visit. The official descent is Barr Trail.
From the top of the Incline, a short connector drops you onto Barr Trail, the same trail that climbs all the way to Pikes Peak. You will descend roughly 3.6 miles of switchbacks back to the trailhead in Manitou. The trail surface is dirt and rock, well-maintained, and shaded for most of the way down.
A few things about the descent:
- It is longer than the climb. Most people are surprised by this. Plan on 60 to 90 minutes down.
- Your quads will be cooked from the ascent, and the constant downhill braking on Barr is what makes people sore for days.
- Trekking poles help a lot here. If you own a pair, bring them. If you are debating, see our guide to the best trekking poles for Colorado.
- Watch the trail junctions on the way down. There is one near the bottom where people sometimes wander off toward private property.
If you ever want to climb Pikes Peak proper, the Barr Trail descent gives you a preview of the lower section. Our Pikes Peak Barr Trail complete guide covers that full route.
Training and Conditioning
The Incline is short. That fools people. A short trail at 41 percent average grade is closer to a stair workout than a hike, and your cardiovascular system has to deal with thinning air at the same time.
Useful training if you have a few weeks before your trip:
- Stair climbs. Long sets on a stair machine or in a stairwell. Aim for 30 to 45 minutes continuous.
- Weighted step-ups. Box or bench, knee-high, with a 10 to 20 pound pack. Three sets of 15 per leg.
- Hill repeats. Find the steepest hill you can and walk up and down it for 20 minutes.
- Loaded carries. Walk a couple miles with the pack you will wear. Conditions your shoulders and core for the descent.
Living at sea level and flying in adds another layer. The base of the Incline sits at 6,500 feet, the top at 8,590. That elevation hits flatlanders harder than they expect. If you can spend a day or two acclimating in Colorado Springs first, do. Our guide on altitude sickness prevention and treatment covers the symptoms to watch for.
When to Go
Best season: May through October for comfortable conditions. The Incline is open year-round, but each season has its own considerations.
Best time of day: 6 to 8 AM. You get cooler temperatures, you beat the worst of the sun on the exposed upper section, and you finish before afternoon thunderstorms build. Summer storms in the Front Range are reliable, and getting caught above tree line on the upper third with lightning around is the kind of mistake people only make once.
Summer: Hot and exposed. Most of the trail has limited shade. Go early. Carry more water than you think.
Fall: Quietly the best season. Cooler temperatures, fewer crowds, stable weather windows.
Winter: The upper switchbacks on Barr Trail ice over. You need traction. Check our roundup of the best microspikes for hiking in Colorado. The Incline itself can hold snow and ice on the upper third for weeks after a storm.
Spring: Mud season on Barr Trail. The descent gets sloppy.
What to Bring
Even though the Incline is short, the combination of effort, elevation, and exposure makes gear matter more than people expect.
- Water. 1 to 2 liters minimum. Even more in summer.
- Snacks. A bar or two for the top. You will burn through calories faster than a normal hike.
- Sun protection. Hat, sunscreen, sunglasses. The upper section has zero shade.
- Layers. It can be 20 degrees cooler at the top than at the base, especially in spring and fall.
- Sturdy footwear. Trail runners or hiking shoes with grippy soles. Smooth-soled sneakers slide on the railway ties. See our best hiking boots for Colorado writeup for options.
- Winter: Microspikes, gloves, a warm layer for the descent.
- Trekking poles: Optional for the climb. Genuinely useful on the Barr Trail descent.
- Phone with reservation confirmation. Screenshot it in case you lose signal.
Common Mistakes
A few things that turn good Incline mornings into bad ones:
- Descending the Incline. Already covered. Use Barr Trail. Rangers will ticket you.
- No reservation. You will get turned away. Book before you go.
- Starting at 2 PM in July. Heat, sun, and an afternoon thunderstorm risk on the exposed top. Go in the morning.
- Underestimating water. A liter feels like enough until you are halfway up sweating through your shirt.
- Wearing the wrong shoes. Smooth soles slip. Bring trail runners or boots.
- Sprinting the first third. You will pay for it in the middle third.
- Not budgeting time for the descent. People plan for the climb and forget Barr Trail adds 60 to 90 minutes on tired legs.
FAQs
How long does it take to climb the Manitou Incline?
Fit hikers do the ascent in 30 to 45 minutes. Most people take 60 to 90 minutes up. Add another 60 to 90 minutes for the Barr Trail descent. Plan on 3 to 5 hours total from car to car.
How many steps are on the Manitou Incline?
2,768 wooden railroad ties. They were the original cog railway grade, repurposed after a 1990 rockslide ended the funicular's run.
Is the Manitou Incline dangerous?
The climb itself is safe if you pace yourself and turn around if you feel sick. The real risk is descending the Incline (do not) or going up in afternoon thunderstorms on the exposed upper section. Altitude can hit hard for visitors from sea level. Stop and rest if you feel dizzy or nauseous.
Do I need a reservation for the Manitou Incline?
Yes. Reservations are free but required, booked at coloradosprings.gov/manitouincline. Summer peak slots fill weeks ahead. Off-peak weekday slots are easier to grab.
Can kids do the Manitou Incline?
Older kids in good shape can. The steep grade and tall steps are tough on shorter legs, and the exposure on top can be hard for younger kids to manage. Most family climbs end at the false summit and bail out to Barr Trail. Strollers and dogs are not allowed.
Is the Manitou Incline harder than a 14er?
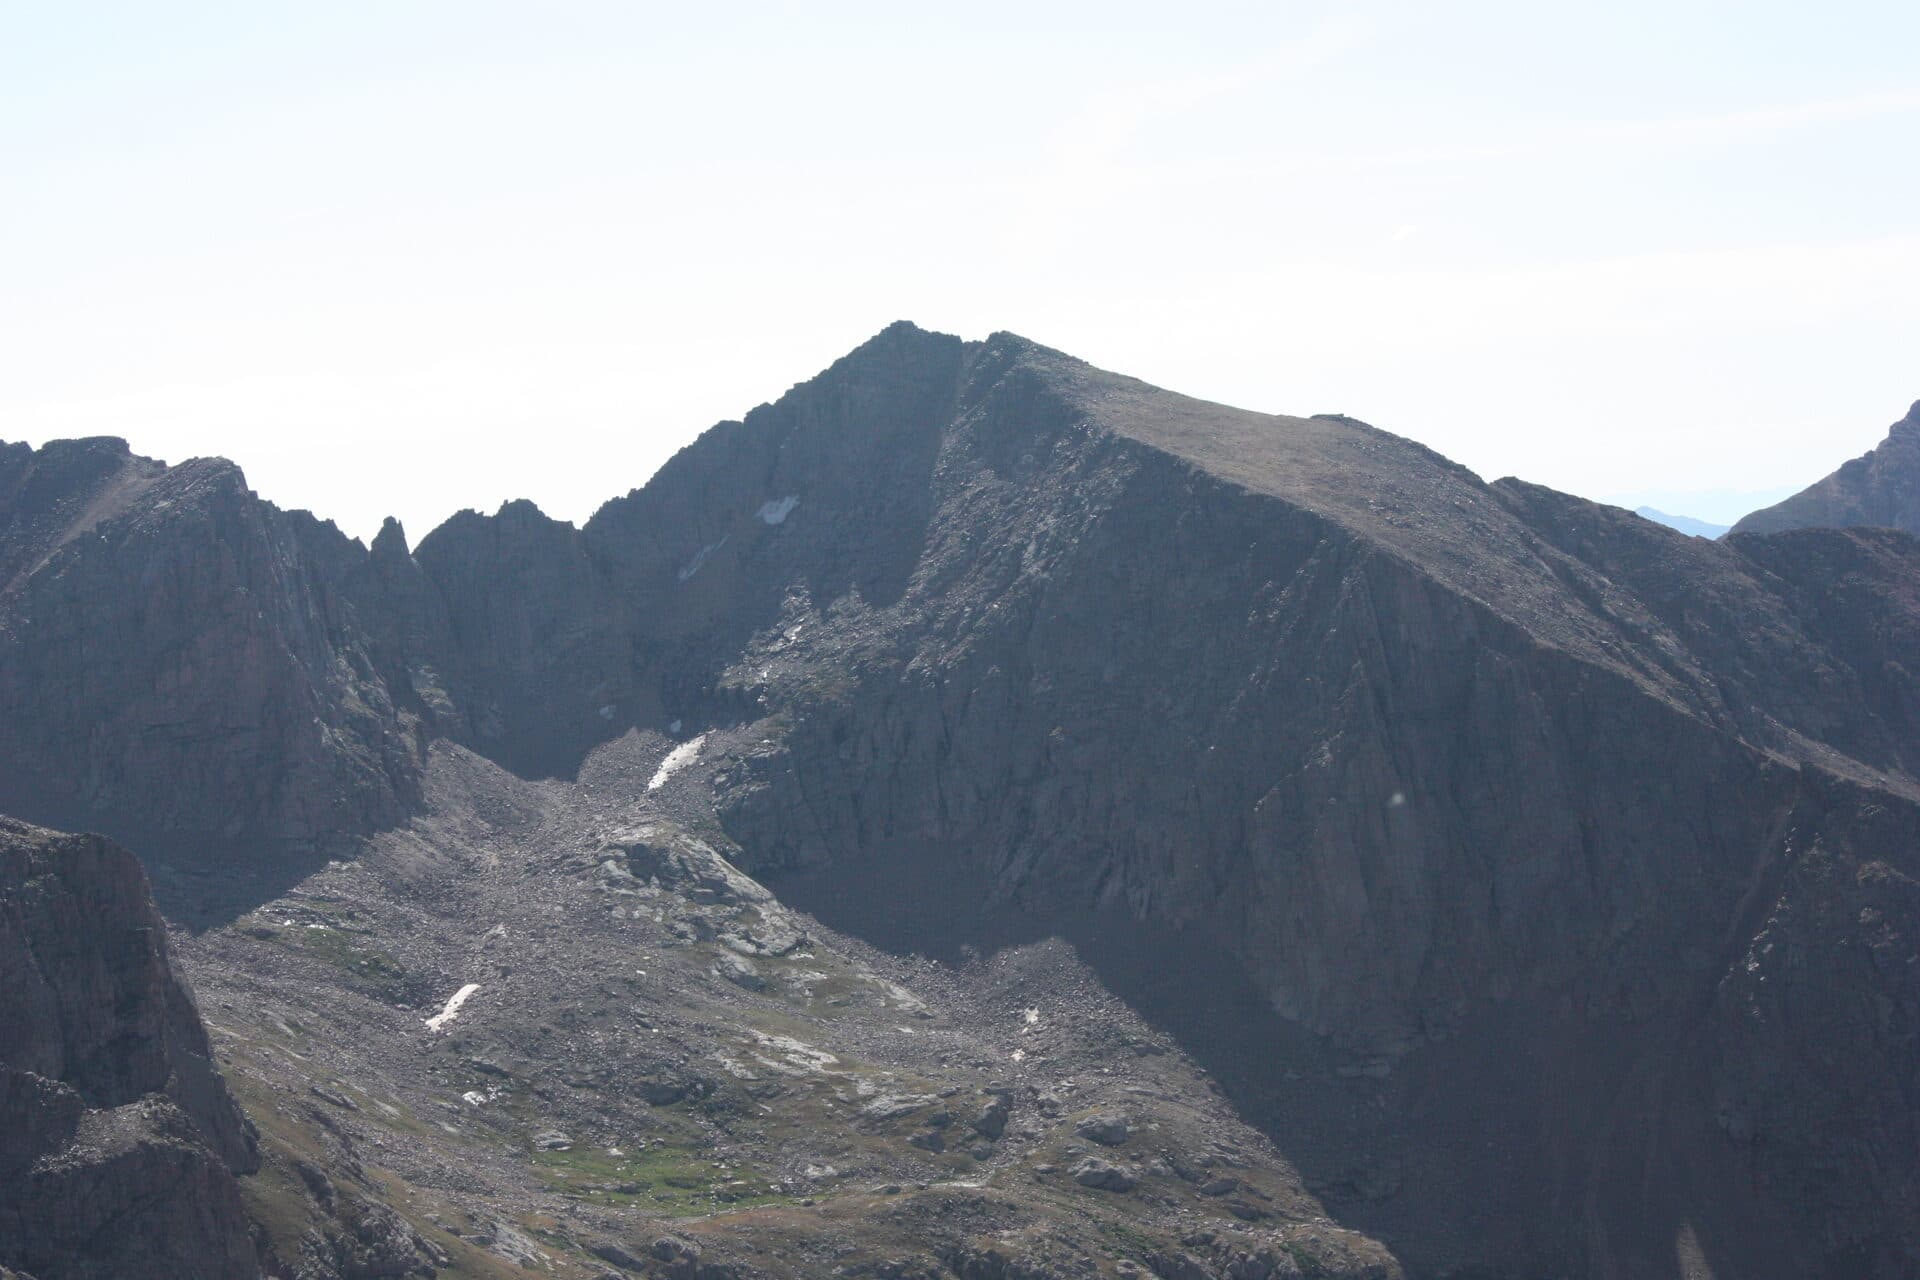
Different kind of hard. The Incline packs more vertical per mile than almost any 14er. A typical 14er like Mount Bierstadt has more total elevation gain and altitude exposure but spreads it over a longer route. The Incline is a concentrated burst. People who hike 14ers all summer still find the Incline humbling.
Wrapping Up
The Manitou Incline lives up to the hype, partly because it is so honest about what it is. No scenery trick, no easy section that distracts you from the grade. You climb steps until you are at the top, then walk a real trail back to your car.
Book the reservation. Park at Hiawatha Gardens. Start early. Bring water. Descend on Barr. Bring trekking poles if you have them.
For more area trails, see the best hikes near Colorado Springs, the Colorado Springs hub, and the Manitou Springs page.
Get the Colorado 14er Packing Checklist (free PDF)
Plus a weekly note on the best Colorado trails, gear deals, and seasonal hike picks. No spam, unsubscribe anytime.
We respect your inbox. Unsubscribe anytime.